3. FieldGenius Android – Using Total Stations in the Field
In this course you will learn how to use Total Stations and Robots inside of FieldGenius. Although are guides specifically cover the GeoMax line of optical instruments, many of the procedures are nearly identical, no matter what brand you are using. This includes creating your own project, how to properly set a project up, importing data and a general overview of how the software works.
Getting Your Total Station Connected via Bluetooth
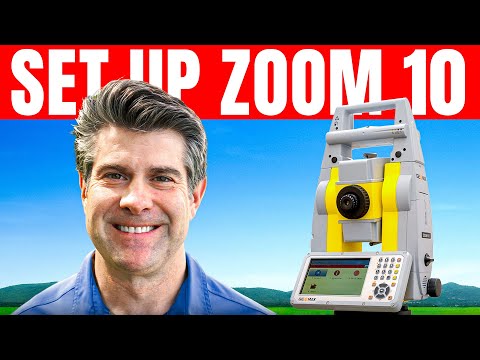
Getting your Zoom10 setup is a piece of a cake in FieldGenius. In this guide, we are going to show you how to get your total station paired and ready to begin working.
To begin, choose the Select Instrument option.
Within the Instrument Profile menu, select the Add Profile option.
In the New Instrument Profile menu, and select the Total Station option.
Ensure that the Make and Model are set to GeoMeax and the model as Zoom10. Give the Profile an appropriate name.
Select Create to make the profile.
With the Profile created, select the Setup Communication option.
In the Communication menu, ensure the Connection Type is set to Bluetooth.
Once selected, choose the Search option.
Once the search is complete, select the Bluetooth option with the same name as the Serial Number on your total station.
With the connection established, select the Connect option.
You can leave the EDM Settings and Measurement Tolerance as is. Select Done to finish.
Do you need another view of your stakeout? With FieldGenius, you can have the view be orientated to your total station.
To begin, select Settings.
Within the Settings menu, select the Staking option.
Select your view orientation from the Orientation Total Station dropdown.
You Have Completed FieldGenius Windows - Using RTK in the Field
We hope that everything is a little bit clearer, and that you are ready to begin surveying! Take a look at the RTK and Total Station modules to see how to setup your equipment.